I have been a maker of books for a few years now, but I have never been a journaller. I have wanted to write in these books, but I never managed to. So when
Judy Wise offered up a class on journaling, I jumped at the opportunity to take it. It helped that I made a new journal that I knew I was going to throw paint into, and not worry about messing up.

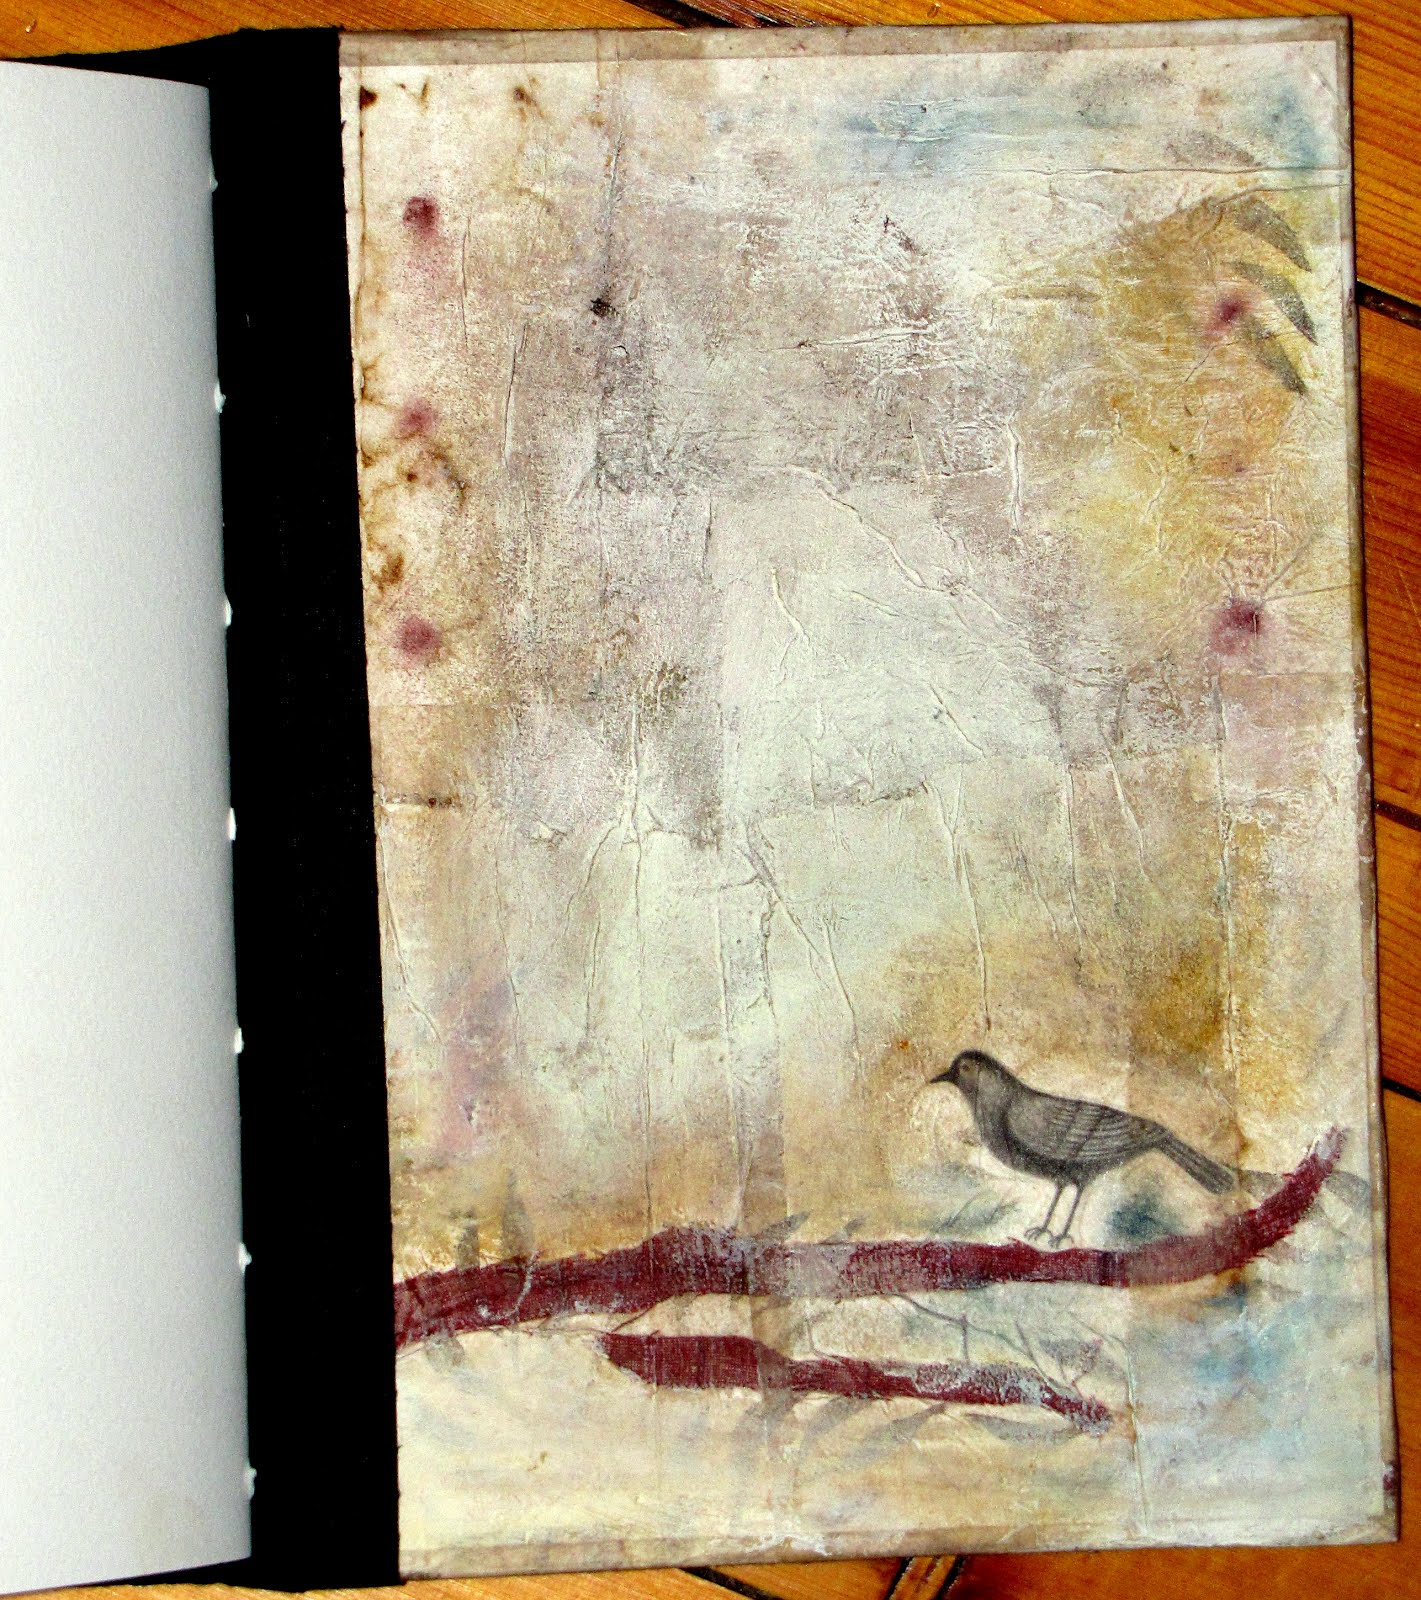
And here is my first page in my journal.

I am far behind in the lessons, as Judy has many ideas on page development and writing prompts - but I will get there. I will continue to work at the speed that I am able to . Learning, trying and growing.

 I continue on - healing from a concussion. The only creative thing I am doing lately is working on journal pages as I also continue to take a course from the amazing Judy Wise.
 Here are some pages that I painted and decorated, and are waiting for me to write on them.
 On the bottom of this page I stuck part of a tag that was on my new jeans. It says "this product is made from the finest materials and designed to move naturally with your body." I thought those words worked so well for my new journal.
 Judy talks about the importance of including your own work on journal pages, so I included a copy of a painted face that I tore and added some paint and scribbles too.
 This page went in an entirely different direction, but I loved doing it. I am excited to add my thoughts by writing (hopefully daily) on each of these pages.
 One of the things Judy showed us how to do was to make a stencil of ourselves, so that is me smiling away on the corner of that page.
 I found this artwork in the newspaper with an article about a women who fell when skating and is struggling to heal from a concussion. I knew it had to be included in my journal.