Showing posts with label hand decorated paper. Show all posts

Saturday, December 8, 2018

Paper Box Frames


I finally finished these little bit collages that I shared on my previous post. 


They will be part of a show in a Yukon gallery with the title of 'Light'. 


Therefore I wanted to keep the frames light both physically and in look.  
I also wanted the frame edges to be rustic and worn looking - similar to the paper edges. 


My desire was to have the pieces float above the false back of the box.


This was tricky to achieve and took too much time - but I like the final look. 


I put a small string through the back of the box, 
so these pieces can hang on a wall, or stand on a shelf. 


And here they all are - ready to head off to the gallery!

Monday, November 12, 2018

Little Bits of Collage


These little bits collages have won my heart lately. 

I don't know what it is about taking pieces of paper 
that I have painted and stamped 
and ripped into little bits - and then glue back together again
. . . . but I keep seeming to want to do it.  


These little creations (measuring about 2&1/2 inches each way) are a work in process, 
but don't worry I will share the finished products with you when I am done.

Monday, October 8, 2018

Cookbooks and Daughters


I have two daughters that are at the edge of not living at home anymore.
They both were interested in having cookbooks, and since I love making books. . .  
I made them cook books. 


This one is decorated with the paper from used tea bags
with a collage from my hand decorated paper added.


I love the colours and patterns the tea leaves make as the bags are drying. 


Daughter # 2 (birth order that is) loves grey, 
so I added some greys and blues to the cover  
before adding a copy of some birds i drew 
and a smattering of collage bits. 


I have no doubts these books will be filled with yummy recipes
and enjoyed for many years to come. 

Monday, March 5, 2018

Matchbook Notepads - Tutorial


I realize that many people don't use notepads anymore,
but I am a list maker - and love having little notepads handy at all times. 

 
I always have scraps of card-stock and plain paper that is leftover from bigger projects, 
as well as a never ending supply of hand decorated paper.


So I thought I would share how to make these matchbook notepads. 


Gather scraps of notepaper, card-stock and decorated paper.

     Cut the pieces to size and then glue 
      the decorated paper to the card-stock. 

Fold the decorated card-stock so that it has a small flap at the bottom and
insert the stack of notepaper. 

Staple the pages and the folded flap similar to a matchbook cover.

Fold the top part over and tuck it under the stapled piece.  
If it is too long, trim it a bit. 

Once it is the the right size and tucked under the flap, crease the top. 


If you don't have any decorated paper.... you can always use a piece out of a magazine. 


When I make them I seem to end up with quite a stack of them. 


But.... that isn't really a problem!


Wednesday, January 17, 2018

A Bouquet For My Mom


My Mom's birthday is in a few days, and she loves flowers.
Unfortunately where we live there are no flowers at this time or year, 
and the closest place to buy her some is a long drive away.  
I will get her some next time I am able to. 


But for now I got out my hand decorated paper (tea bags, tissue paper etc.) 
and started tearing and gluing to create her this bouquet. 


Which I then mounted on a card, ready for her birthday. 

I really enjoyed this tearing and gluing and spent numerous hours creating flowers. 


I thought the pinks with oranges and golds were my favourite....


But I was wrong.... blue and grays are!  
But for now I am out of creating time.... but hopefully 
I will have time to play with these colours again another day. 


Wednesday, January 10, 2018

I LOVE Notebooks


I have loved notebooks since I was a child. 
I had trouble writing in them sometimes.... as I didn't want to ruin them - but I still bought them and kept them, and I even remember hugging them. 

I still love notebooks, and also love making them, 
and therefore  I can have as many as I want.  


The covers of these new little notebooks, are made with paper I decorated and layered with glue, fabric and dictionary pages to make a sturdy yet somewhat soft covered notebook.  


I had small pieces of the covers left, so I decided to make some tiny notebooks with the leftover supplies......... Now to decide what to write in them!


Thursday, October 26, 2017

Junk Style Journals


I finally have a few of these junk style journals put together. 


It took a bit of time, since I decorated 
many of the pages that are going into these books. 


Once the pages were decorated, I sewed an assortment of pages into signatures.  


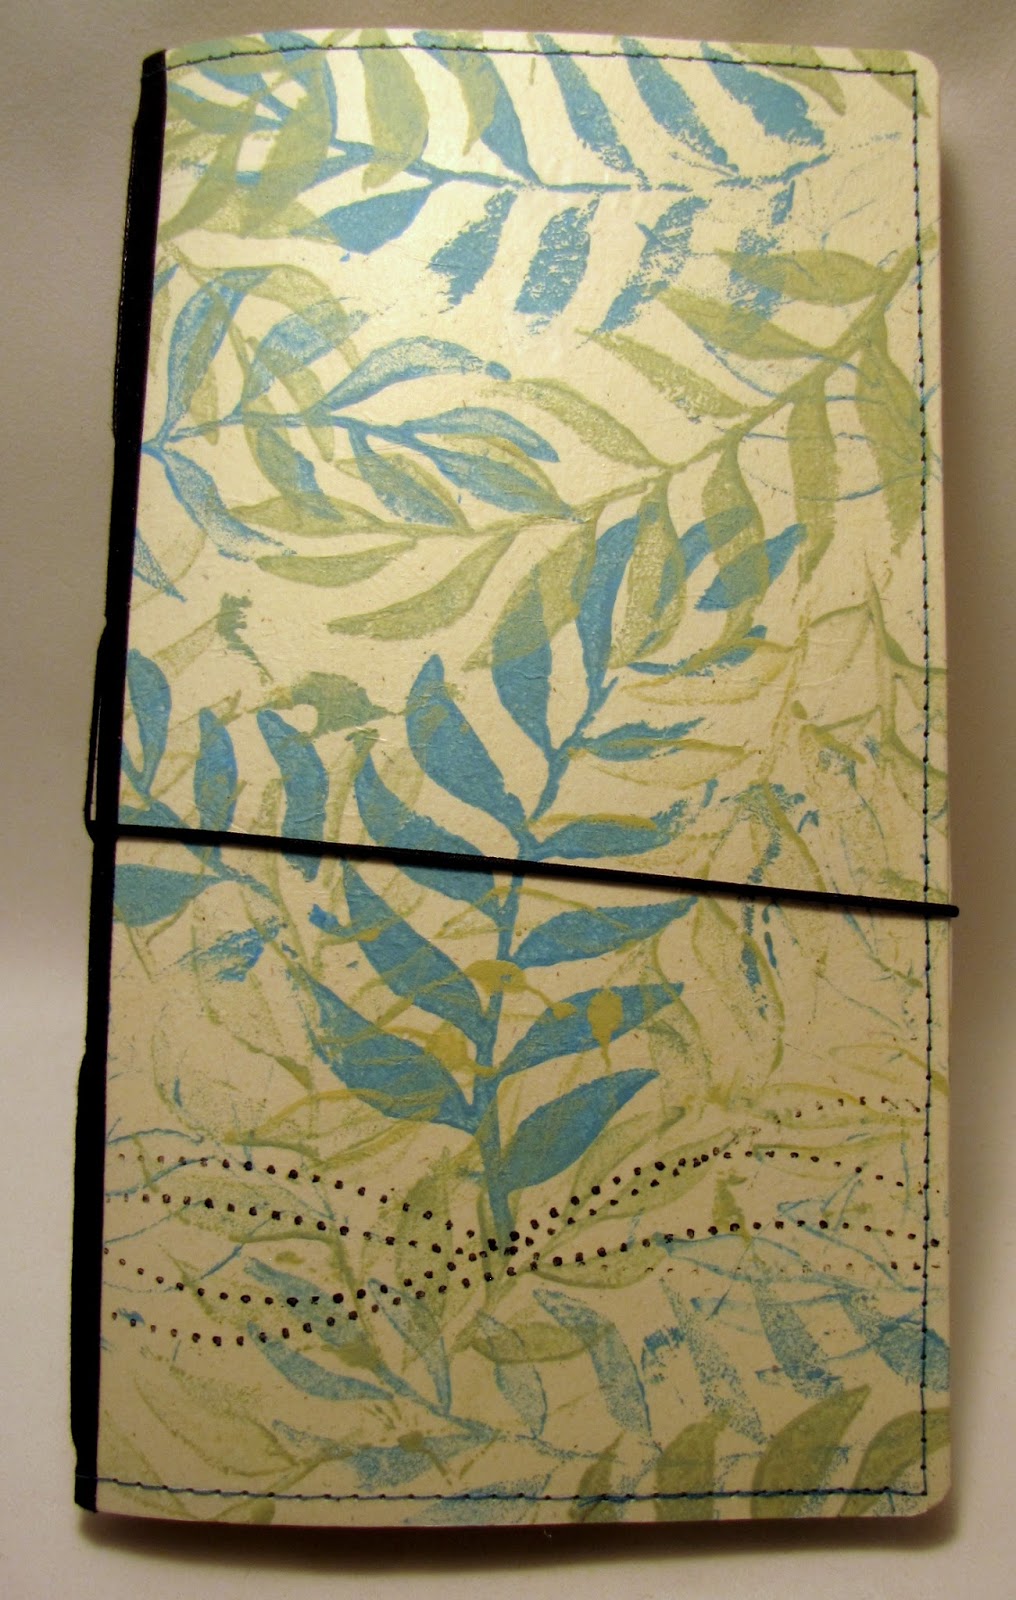
I made flexible but sturdy covers that I decorated, and stitched the spine so that it can hold the pages.  


These journals are designed to be refillable. 
Stitched together pages can be secured into the cover, 
and can be replaced with new pages whenever needed. 


I made a couple of small sized books


which hold the sewn together signature of decorated pages.


These are the larger sized journal,
and they too hold one signature of decorated pages that can be replaced when needed.  


On the inside cover the books have a pocket
to hold bits and pieces that can be glued onto the pages. 


The pages are decorated in a variety of ways, 


or are pages out of old books.


And when closed these journals have an elastic that wraps around and secures them.  

I still have a couple of other different but similar journals that are in the works..... 
hopefully I can share them with you soon.